Last week I introduced meal prepping, explained some basic concept and why it’s so awesome. If you missed that post you can see it here.
This week I want to discuss the tools necessary to help make meal prep a breeze every week and go over how to plan and how to execute it effectively. The goal is to set yourself up for success.
The Tools
You can meal prep to your heart’s content, but if you don’t have the right containers for your style of prep, it won’t matter. There are many different types of containers and you’ll have to figure out which style works best. Con
Containers
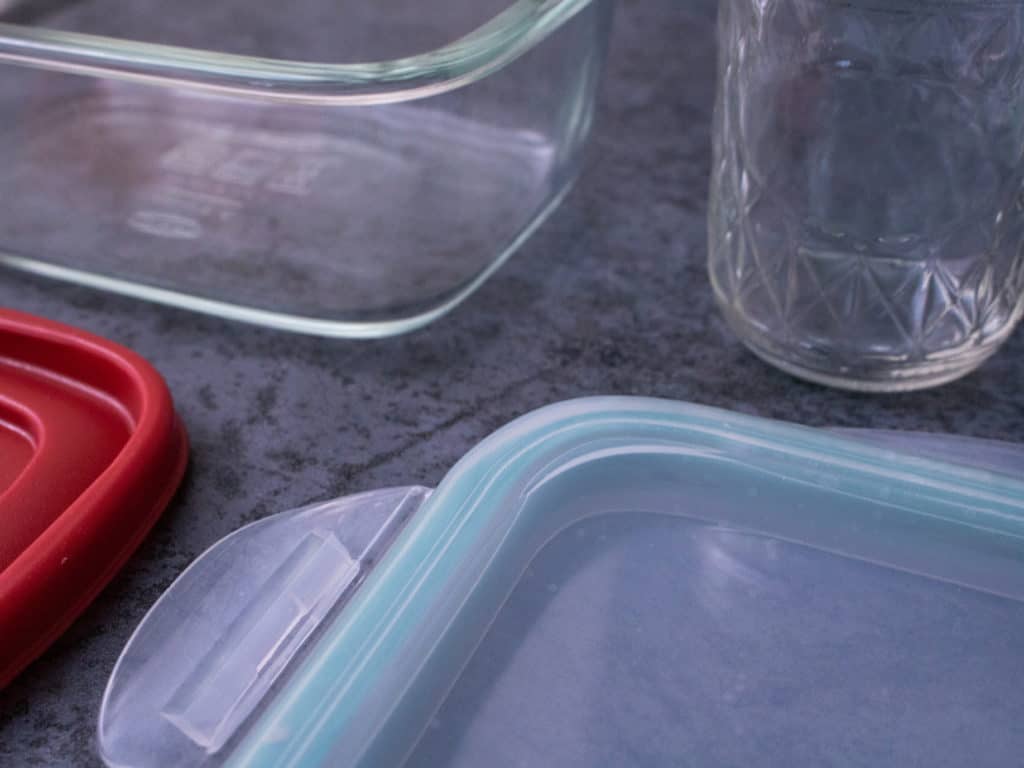
The first consideration for containers is glass versus plastic. Both glass and plastic containers have positives and negatives. Glass containers are sturdier, will not warp in a dishwasher and are resilient to stains. However, these are also more expensive, heavier and can break if dropped. Glass containers are good if you plan on only bringing one container per day (multiples would get very heavy) and like to use the dishwasher. It is definitely an investment, but they should last you for a long time. I like these ones because the lids seal tightly even after going through the dishwasher. Plastic containers are cheap, easy to store and are very light. I use plastic containers when I have multiple containers to bring (think things that should be kept separate until you eat them). However, these can warp in the dishwasher and can become discolored. Personally, I have both plastic and glass containers and just use whatever makes sense. For plastic containers I like these.
The next consideration you need to make is variety of sizes versus compartments. Both can help you with portion control but getting a variety of sizes makes the containers universal. You can use them for things besides just meal prepping. I use mine for leftovers on the weekends or after holidays. Compartments are great for meal prepping and keeping food items separate, but can limiting for other applications.
Try to get the same brand or type of containers so that lids are interchangeable. You do not want to try to figure out which lid goes with what containers. If you buy them all at once from the same brand, it will be easier to organize when not in use. You will also always be able to find a lid.
Make sure you purchases enough containers for three to five days. Ideally, you want enough containers for a full work week so you can pack it all up at once and not wait until the perfect container is washed. Packing all your meal prep up once or twice a week keeps the system streamlined.
If you don’t have a fridge at work, think about getting a small cooler you can add ice packs and food into. If you don’t have a microwave at work, consider getting a Thermos to keep soup, broth or sauces warm until lunch time.
Whatever containers you decide on, you want to make sure that they are sturdy enough for continuous use. If you get cheap containers, they will be practically disposable and will be very flimsy. Cheap containers typically do not reheat well and often get warped quickly. Flimsy containers make break under a heavier meal; you don’t want your burrito bowl to crack open in your lunch bag.
Write It Down
Besides containers, the next biggest tool you’ll need is a place to write down your meal prep. This will help you stay accountable and remember what you’re supposed to be eating. I’ve totally gotten ingredients for a recipe and then forgotten what exactly I was supposed to make. Writing down your meal prep helps you stay organized.
Weekly planners are your best option. Look for a planner that is basically the size of paperback book but skinnier. Inside, you want to be able to see an entire week at a glance as well as the entire month. Get something that makes you happy because it’ll be with you for the year. I like this one from Target which is about $10. I’ve literally bought the same brand for 3 years in a row. No need for a fancy “meal planner” notebook. A simple planner is cheap, flexible and multipurpose.
Calendars are another option. I like Google calendar because it is available across many devices (any phone, tablet or computer you log into). This means that if you make a doctor appointment you can put it in AT THE APPOINTMENT so you don’t forget. And then in six months you will have a reminder (in the color of your choice!) that you don’t need to make lunch that day because you made an eye doctor appointment. Your eyes and budget will thank you. (No wasted food!)
If you’re a paper kinda person who works at home or a stay at home parent, a wall calendar works just as well. You can either buy one or print one. Just write it down and keep yourself accountable. I also have wall calendars which are dogs (at work) and my nephews (at home).
Salt, Pepper, Hot Sauce and a Knife
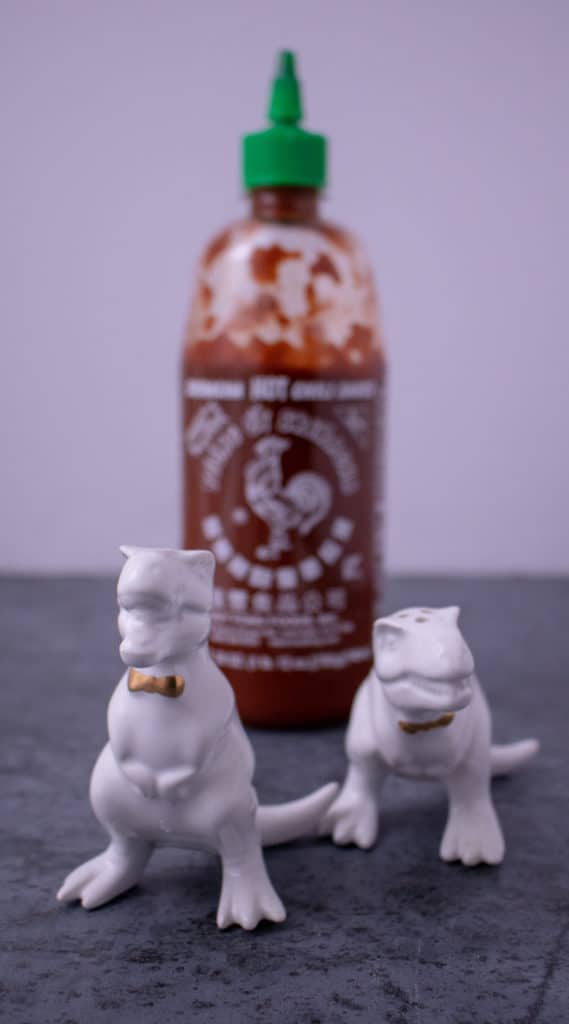
These particular tools are optional but make my life soooo much easier, that I wanted to share. If you don’t have an office drawer or place for these at work, try to have a smaller version in your lunch bag. Why? Sometimes you pack a meal and then realize you needed some salt or pepper. Or maybe you made some great chicken but didn’t cut it up. I keep salt and pepper shakers, a decent steak knife and some hot sauce (Sriracha) at work at all times. I simply wash my steak knife after I’m done with it and store it in a drawer with the dinosaur salt and pepper shakers.
The Plan
Now that you have the tools to help you succeed, you must plan. If you are not a planner by nature, I have tried to break this down into manageable steps. If it is still overwhelming try to break it down even further or send me a “help” message on Instagram, Facebook or Twitter. I’d be happy to help problem solve!
- From my first post, you have figured out how many meals and how many recipes a week you need to prep.
- With those numbers in mind, you can determine your method of meal prepping. There are three basic methods of meal prepping.
- Make ahead meals - this is a fully cooked meal that is already portioned out and in containers. You grab it and go to work.
- Batch prep/freezing - this is making a large batch (or two or three) of a meal (like chicken soup) on one day and freezing the rest in usable portions. More on freezing below.
- Ready to cook - This would be best for work from home or stay at home parents. You pick one day and cut up and prep all your proteins and vegetables. Maybe make the rice/grains and marinate some meats. Put everything into appropriate portions and when it’s time, you cook it fresh without having to do all the added prep.
- Find your recipes! I listed a bunch of resources that I use online from my first post. When looking at recipes look for proteins, veggies and grains that reheat well. Personally, I don’t love reheated seafood (they can smell and be overcooked) or reheated burritos (they get soggy). When I’m looking at recipes I try to picks ones that use a moist cooking method (slow cooker/pressure cooker, braising, things in sauce or broth). For example, Slow Cooker Chicken Tortilla Soup will reheat better than fried chicken. Fried chicken is best when it is crispy and you can’t make something crispy in the microwave (if you can, let me know the secrets).
- Make a schedule. Once you make a schedule, write it into your planner or calendar. This will keep you both organize and accountable. You’ve also prioritizing your meal prep and planning ahead. When making a schedule, plan a day to go shopping, plan a day day to do the prep and plan when you’re going to eat it. Shopping and prepping can be done on the same day if your schedule allows it. If the idea of planning for an entire week is daunting, try to plan for a two day meal prep. Picking when you’re eating each meal ensures that you don’t have too much food or too little food.
- Make a list. If you don’t make a list, you will forget something. Which means you’re going to have to go back to the store. First, go through each recipe to ensure you have enough of every ingredient. This ensures you don’t have to improvise half way through a new recipe. I write my list down on a sticky note and stick it into my planner.
The Execution
Prep
Time to actually prep your food! Your prep will look different depending on your method, amount and types of recipes but follow these guidelines to get yourself started.
Review recipes - this helps to ensure you understand each step. I always read through a recipe at least once before starting to have a vague understanding of what you’re doing next.
Whatever takes the longest, start first. For example, if a meal takes 8 hours in a slow cooker, start that before your salad prep. Pre-heat your oven while chopping and prepping proteins or vegetables. Start boiling your water for your grains.
If you are preparing multiple meals they both involve cutting up sweet potatoes, cut them up at the same time. You won’t have to clean your cutting board as much.
Storing
Once all your food has been cooked and is ready to go, store it in the appropriate containers. An important concept to be aware of is the shelf life of each meal/item. In general, meats, cooked grains and hearty cooked vegetables are good for three to four days. If you’re not sure, consult the FDA website.
Always make sure all your containers are airtight and remain refrigerated to ensure they stay as safe as possible.
Freezing
Sometimes you may want to do batch prepping. After you cook a batch of something you should always let it cool to maintain the texture and quality of the meal. Make sure all containers are safe for the freezer and are airtight. Airtight is important because it will reduce the risk of freezer burn.
When freezing meals or batch prepped proteins/soups/sauces/grains, be mindful of portion size. If you have four days worth of soup to freeze, make sure you freeze it into individual portions. This will help it thaw faster and be more useful. You don’t want to thaw out four days worth of pulled pork all the time.
I hope that breaking down the steps like this will help you succeed in meal prepping. Success doesn’t necessary mean that the first time you attempt meal prepping you will find the perfect recipes and perfect containers. It is okay to make mistakes as long as you’re willing to learn from them. For example, if you think you can eat the same thing for five days in a row, but you hate it after day four, then you may want to try two different recipes next time. Or maybe you try a recipe and you’re not crazy about the way it reheats. You’ll know not to make that type of recipe again the next week. It’s a learning curve that I hope I’ve lessened a little.
As always feel free to say hi on Facebook, Twitter or Instagram.
Meal Prep Series
Was this helpful? You can check out the rest of the series below!
Part 1: How to Get Started Meal Prepping
Part 3: Slow Cooker Tips for Meal Prepping
Part 4: How to Meal Prep Without Getting Bored
Part 5: How to Solve Common Meal Prep Problems
Part 6: How to Meal Prep Like a Pro