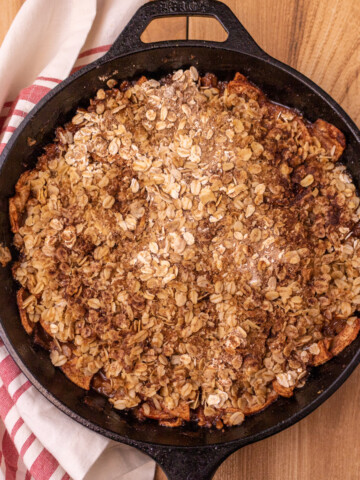
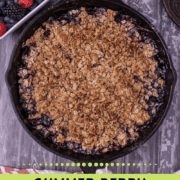
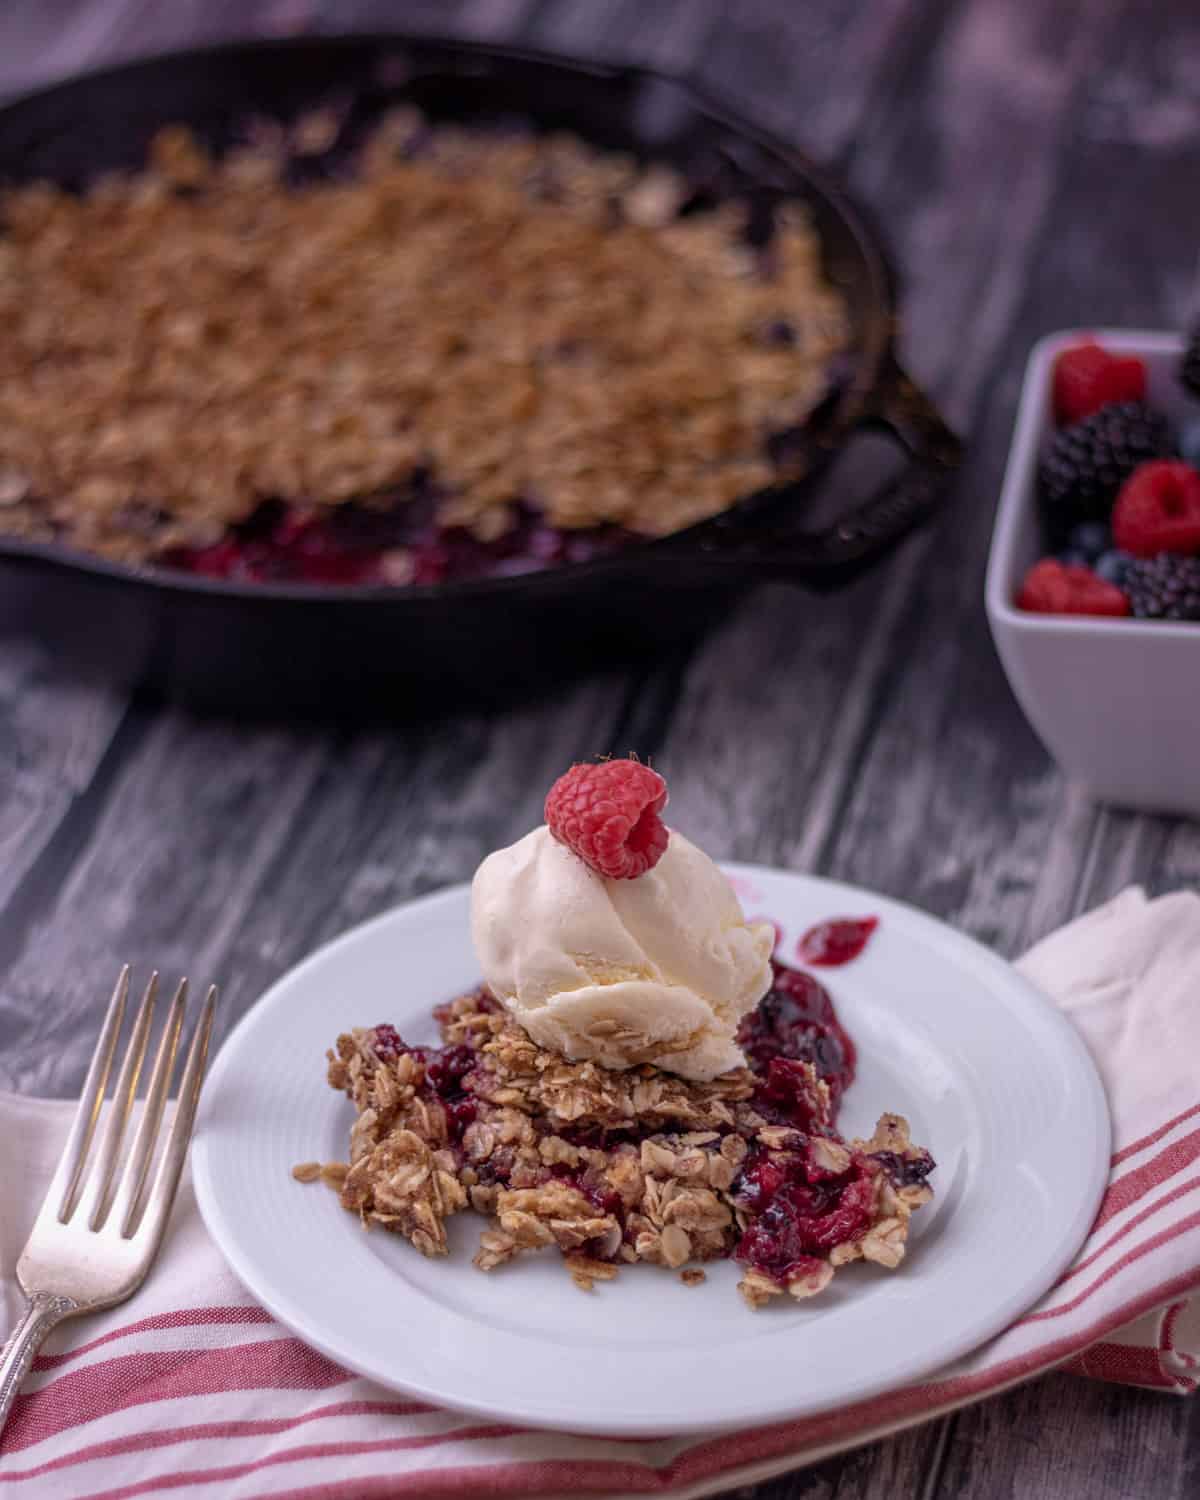
Cast iron berry crisp is a great make ahead summer dessert that uses fresh summer berries or frozen berries in the off season. With a buttery crispy oatmeal topping and sweet berry filling, it’ll be a hit with your loved ones or at your next gathering. Serve with whipped cream or vanilla ice cream for an added treat.

Jump to:
Tips and Tricks
How do you store berry crisp? The best way to store berry crisp is by removing it from the cast iron and placing it in an airtight container in the fridge for up to four days. You can eat it cold or warmed up. Store separately from ice cream or whipped cream to avoid the topping getting soggy.
What do you serve with berry crisp? Serve berry crisp at room temperature (or slightly warmed up!) plain, with homemade whipped cream, or vanilla ice cream. I like to serve it as dessert but I’ve also been known to eat it for breakfast the next day (fruit+oatmeal = breakfast right?)
What’s the difference between a crisp, a crumble, a cobbler or a buckle? These desserts are all similar. Baked fruit desserts on the bottom with different variances in the topping. Part of the difference can be regional.
A cobbler has more of a biscuit type topping, a crisp has an oat topping, a crumble has a similar topping to a crisp but without oats, and a buckle is more of a cake with a streusel topping. Confused yet?
Ingredients
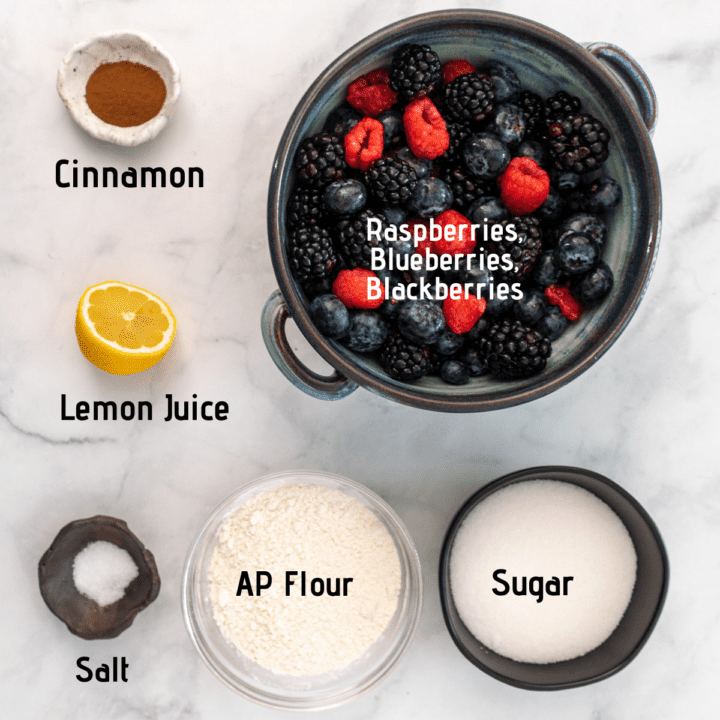
Berry Filling
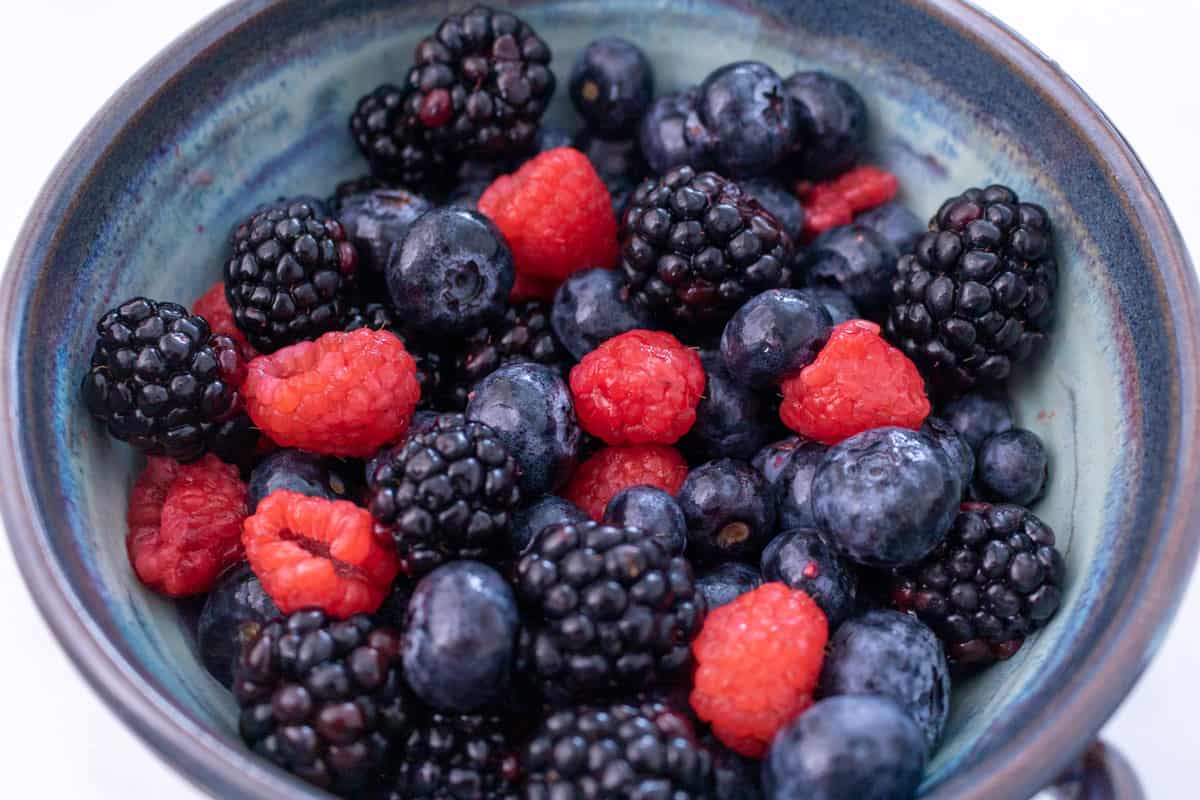
- Blueberries - fresh in the summer but frozen works
- Raspberries - fresh in the summer is best but frozen works
- Blackberries - fresh in the summer is best but frozen works
- Granulated sugar - sweetens the filling
- All purpose flour - helps to thicken the filling once cooled, you can try other flours but it may affect the filling texture
- Ground cinnamon
- Diamond Crystal kosher salt (affiliate link)
- Lemon juice - fresh is preferred
See recipe card for quantities.

Oatmeal Topping
- Old fashioned oats - avoid instant or steel cut for texture reasons
- All purpose flour - other flours may affect the texture of the topping
- Cold unsalted butter - cold butter is important to the texture of the topping
- Brown sugar - dark or light will work
- Diamond Crystal kosher salt
- Ground cinnamon
See recipe card for quantities.

Method
How do you make berry crisp in a cast iron skillet? Preheat the oven to 350F. To make the filling; mix all the berries, flour, sugar, cinnamon, salt and lemon juice in a medium mixing bowl until well combined.
Some of the berries may get crushed but that’s okay. Taste the filling to make sure it’s sweet enough. Add the filling to a 10 inch cast iron skillet (affiliate link).

Next, cut the butter into five-six pieces and add to a medium mixing bowl. Except the ground cinnamon, mix all topping ingredients together in the medium mixing bowl with the butter. It is okay to have small lumps of butter throughout the mixture.
Add topping to the berries, spreading it out evenly. Sprinkle cinnamon over the topping and place in the oven.

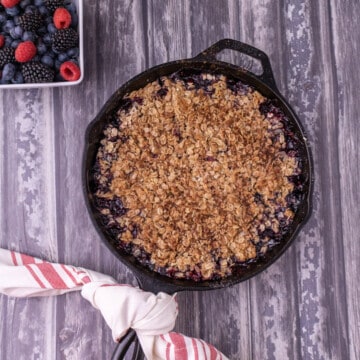
Cook for 35-40 minutes, until berries are bubbling and the topping is crunchy. Allow to cool to almost room temperature (1-2 hours) or until berry filling is set.
Serve at room temperature, slightly warmed up or cold from the fridge with whipped cream or vanilla ice cream if desired.
How do you know when the crisp is done cooking? When the berry crisp is done cooking, the filling will be bubbling around the edges and the topping will be browned.
How long do you wait for it to cool? It is best to allow this dessert to cool to make it easier to serve. The cooling time will allow the dessert to set and also avoid you burning your mouth.
If you serve this too hot it will be runny and a mess, although still tasty. Depending on the temperature of your kitchen, this may take one to two hours.
Hint: Berry crisp is best served after it has cooled a bit so it has set enough to serve easily.
Substitutions
Can you use frozen berries? Yes, you can use roughly the same amount of frozen berries for this recipe. If you use frozen berries, add about five minutes to the cook time, no need to thaw them.
Can you use other types of berries? You can definitely use different berries and fruits for this recipe. Always taste the filling before baking to make sure it’s flavorful and sweet enough.
I recommend using in season fruit or frozen fruit for this recipe. Strawberries, plums, pears, apples, cherries and other similar fruit would all be delicious.
Variations
- Cast Iron Apple Crisp
- Apple, cranberry and pear crisp (You may need to increase the sugar since cranberries are tart)
- Plum, cherry and pear crisp
Equipment
Do you have to use a cast iron skillet? No, you can use a 9x9 baking dish (affiliate link) (either glass or metal) to make this recipe. Use a disposable metal pan if you’re bringing it to an event or a friend’s house.
If you use a different sized baking dish, it may take less time to cook in the oven since the filling and topping will be thinner.

What size cast iron skillet do you use? I use a 10 inch cast iron skillet (affiliate link) for this recipe. You can use an eight inch cast iron skillet but it may overflow and take longer to cook since the filling will be deeper.
You can also use a 12 inch cast iron skillet but it will take less time to cook since the filling will be thinner.
Top Tip
Berries can vary drastically in flavor depending on the crop and season, taste the filling before baking and adjust sugar and lemon juice as necessary.
Cast Iron Berry Crisp
Ingredients
Filling
- 1 pint fresh blueberries
- ½ pint fresh raspberries
- ½ pint fresh blackberries
- ½ cup granulated sugar
- ⅓ cup AP flour
- ¼ teaspoon ground cinnamon
- ⅛ teaspoon Diamond Crystal kosher salt
- Juice from 1 lemon about 4 teaspoons
Topping
- 1 ¼ cup old fashioned oats
- 2 tablespoons AP flour
- 5 tablespoons cold unsalted butter
- ⅓ cup brown sugar
- ⅛ teaspoon Diamond Crystal kosher salt
- Sprinkle of ground cinnamon
Instructions
- Preheat the oven to 350F.
- Mix all the berries, sugar, flour, cinnamon and lemon juice together in a medium bowl. Stir to combine. Don’t worry about smashing up the berries. Taste the filling to ensure it is sweet enough. Sometimes berries can be tart. If they are, add a little more sugar. Pour filling into a 10 inch cast iron skillet.
- Cut the 5 tablespoons of butter into about 5 separate pieces. These don’t need to be exactly the same size.
- Except the ground cinnamon, mix all topping ingredients together in a clean medium mixing bowl. It is easiest to combine with a pastry cutter or hands. Mash butter into small lumps (pea sized is great) and mix well.
- Add the oat topping to the berries, spreading it evenly across. Sprinkle cinnamon over the topping and place in the oven.
- Cook for 35-40 minutes, until berries are bubbling and the topping is crunchy and well browned..
- Allow to cool to almost room temperature (1-2 hours) or until berry filling is set.
- Serve at room temperature, slightly warmed up or cold from the fridge with optional vanilla ice cream or whipped cream.
Notes and Accommodations
- You can use an equal amount of frozen berries but add 5 minutes to cook time. No need to thaw.
- If you don’t have a cast iron skillet, bake in a 9x9 inch baking pan (metal or glass is okay).
- Serve berry crisp after it’s cooled so the filling has time to set and is easier to serve.
- Remove leftovers from the skillet and store berry crisp in the fridge covered for up to 4 days.
- Store whipped cream or ice cream separately to avoid a soggy topping.
Recipe originally posted June 26, 2019. Updated for clarity and with process photos March 9, 2022.
Food Safety
- Cook to a minimum temperature of 165 °F (74 °C)
- Do not use the same utensils on cooked food, that previously touched raw meat
- Wash hands after touching raw meat
- Don't leave food sitting out at room temperature for extended periods
- Never leave cooking food unattended
- Use oils with high smoking point to avoid harmful compounds
- Always have good ventilation when using a gas stove